How to Install AMP in WordPress Website Step by Step 2021

In this tutorial, I am going to share how to install AMP in WordPress website step by step 2019 with the screenshot which help you to integrate AMP (Accelerated Mobile Pages) your WordPress sites.
What is Google AMP?
The Accelerated Mobile Pages (AMP) Project is an open source initiative by Google that makes it easy for publishers to create mobile-friendly content once. Instead of loading your full website in mobile device, Google loads only stripped down, minimalist version of your site that looks something like this:

AMP provides a straightforward way to create web pages that are compelling, smooth, and load near instantaneously for users. AMP pages are just web pages that you can link to and are controlled by you.
Watch the introduction of Accelerated Mobile Pages (AMP)
AMP is an open source effort to improve the content ecosystem for everyone. See the below what AMP provides and how AMP help you to boost your site SEO score and drive more traffic to your site.

How to Install AMP in WordPress Website Step by Step 2019
Follow the below steps to install AMP in your WordPress sites.
Step 1. Login to your WordPress admin and navigate to the Plugins => Add New.
Step 2. Search AMP for WP
Step 3. Install and activate the AMP plugin. For more details, see our step by step guide on how to install a WordPress plugin.
Step 4. Activate the AMP plugin and visit your site to see the AMP pages. For example, if your blog post URL is http://example.com/your-blog-post-url/, then your website AMP version will be at http://example.com/your-blog-post-url/amp/.
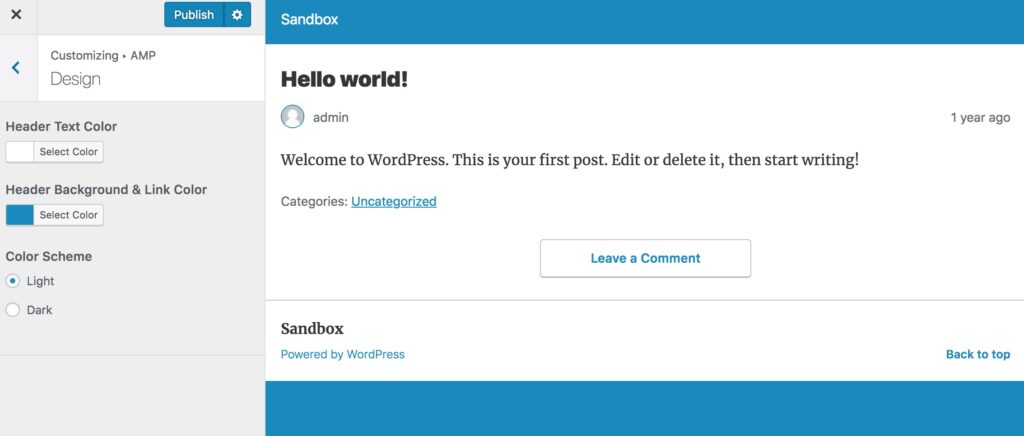
Step 5. Now go to the Appearance => AMP tab in your dashboard. This will bring up the AMP customizer page. Select the Design tab and configure your AMP version pages.

Please don’t forget to share this post. And if you’ve already implemented Google AMP on one of your sites, it would be awesome if you left a comment about your experience.
